Caramel Apples: The Perfect Treat for Fall 🍁
Good morning, ladies! Thanks for stopping by! Well, would you believe I ran out of my dark roast coffee today and had to open a bag of medium roast? Oh, it’s all good, though, because my coffee machine has a feature that lets me brew a stronger pot. Yep, you guessed it! That’s EXACTLY what I’m doing at the moment! ☕
I’m just thankful I had ANY coffee in the house. Otherwise, I’d be walking around like a zombie! 🤣 I mean, that wouldn’t be a terrible thing considering we’re in the middle of October and Halloween will be here soon!
Speaking of October, there’s a quick little treat we used to make when my kids were younger, and that is caramel apples. So, that’s what we’re featuring on the blog today!
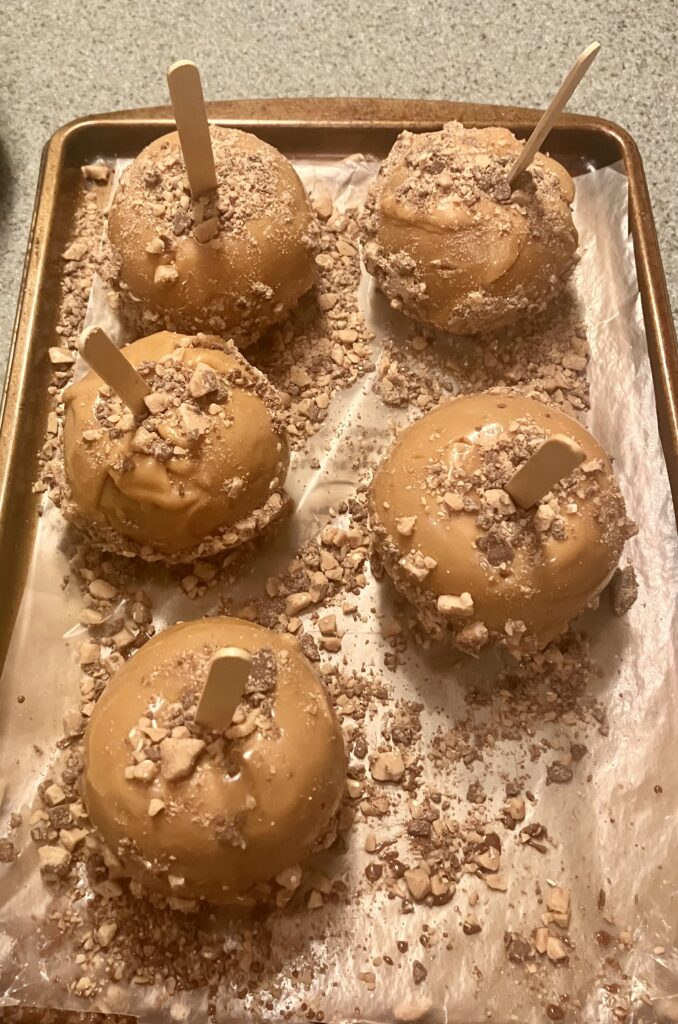
Now, I remember back in the day when my mom and dad would take us to a fair, carnival, or amusement park. I always enjoyed those hard, glossy-red, cavity causing candy apples!
Well, ladies, I could NEVER imagine biting into one of those today because I’m pretty sure I’d leave two or three teeth in that darn apple! LOL
So, let’s talk about a fall favorite: the caramel apple. These I can enjoy by cutting up the apples first. Again, Chelle Noelle isn’t biting directly into that sticky caramel! Oh no…not me! 🤣
All righty, no more waiting! I’m going to share a simple way to make this tasty treat. Here we go!
SIMPLE CARAMEL APPLES 🍎
INGREDIENTS
- 1 Wrapples© Caramel Apple Kit
- 5 medium-sized apples, washed and dried (any variety will work; I prefer McIntosh!)
- Optional toppings: mini chocolate chips, crushed nuts, crushed Oreos, toffee bits (like Heath Bar baking bits), mini M&M’s, etc.
DIRECTIONS
- Line a small-to-medium cookie sheet with waxed paper.
- Preheat your oven to 200°F.
- Wash and thoroughly dry five apples.
- Remove the paper sheets from the caramel wraps. If they’re difficult to remove, refrigerate them for one minute.
- Press a caramel wrap over each apple, covering the top and sides. Stretch the caramel around the bottom if needed.
- Place the apples on your wax-paper-lined cookie sheet.
- Insert a wooden stick into the top of each apple.
- Bake the apples on the cookie sheet for 5 minutes.
- Add your favorite toppings, pressing them gently into the caramel or rolling the apple carefully while holding the stick.
- Allow the apples to cool before serving.
NOTE: Store the caramel apples according to the package directions.
And there you have it! A simple fall treat that you can create with your favorite toppings!
These caramel apples bring back sweet memories of when my kids were younger. I hope you give them a try and enjoy adding your own personal touch!
And if you’re like me, don’t forget to cut that apple into pieces before eating it! LOL! 😂
Thanks so much for being here! I’ll see you tomorrow!
~Chelle Noelle~